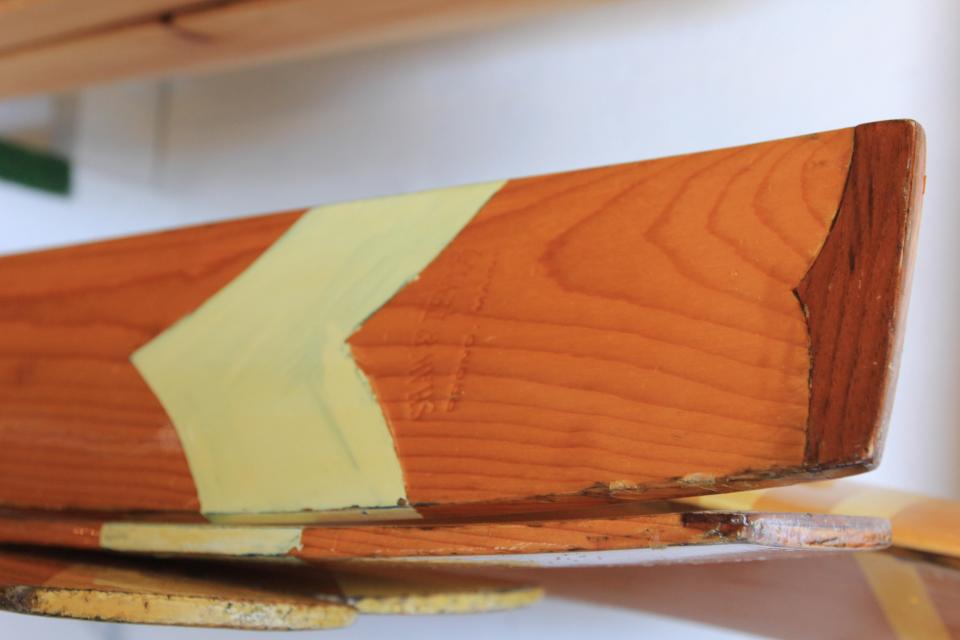
Are your beloved Shaw and Tenney wooden oars showing signs of wear and age? Don't let their charm fade away – with a little care and effort, you can restore them to their former glory. In this guide, we'll walk you through the steps to refinish your old oars, bring back their shine and ensure they're ready for many more adventures on the water.
Step 1: Gather Your Materials
Before you embark on this journey of restoration, gather the necessary materials:
Sandpaper: Start with medium-grit sandpaper (80 or 120) to remove the old finish and imperfections. Follow up with a fine-grit sandpaper (around 220) for a smooth finish.
Marine-Grade Spar Varnish: Choose a high-quality varnish designed for marine environments. This will protect your oars from the elements and give them a lustrous shine.
Brushes: Opt for a high-quality brush designed for varnish application. A foam brush or a natural bristle brush works well.
Protective Gear: Wear safety glasses and a mask to protect yourself from dust and fumes. Make sure the area you're working in is well ventilated.
Step 2: Sand the Oars

Remove the Old Finish: Begin by sanding the oars with the medium-grit sandpaper. Sand along the grain of the wood to remove the old varnish, paint, or any imperfections. This will provide a clean and smooth surface for the new varnish to adhere to.
Smooth the Surface: Once the old finish is removed, switch to the fine-grit sandpaper. This step will refine the wood surface and ensure an even application of varnish. Sanding with the grain is crucial to maintaining the oars' natural appearance.
Step 3: Apply Varnish

Prepare the Surface: Wipe down the oars with a damp cloth to remove any sanding dust. This will ensure a clean and dust-free surface for varnish application.
Stir the Varnish: Gently stir the marine-grade spar varnish to avoid creating air bubbles. You may want to thin the first coat or two of varnish per the manufacturer's instructions.
Apply the First Coat: Using your chosen brush, apply a thin, even coat of varnish to the oars (but NOT the oar handles - link to article on why). Start from one end and work your way to the other, following the wood grain. Allow this coat to dry according to the manufacturer's instructions, and be mindful of drips and runs. We recommend leaving the handles of the oars free from varnish (see our post on the Unvarnished Advantage for detailed info). Leaving the handles unvarnished also allows you to hang the oars from the handle to allow them to dry with out ruining the finish.
Sand Between Coats: Once the first coat is dry, lightly sand the surface with fine-grit sandpaper. This step helps the subsequent coats adhere better. Wipe away any sanding dust before applying the next coat of varnish.
Build Up Coats: Repeat the varnish application and sanding process for 3-4 more coats, or until you achieve the desired level of shine. Allow each coat to dry thoroughly before applying the next.
Step 4: Final Touches
After you apply the final coat of varnish and allow it to dry completely, the wooden oars will transform. The varnish not only adds a glossy finish but also protects the wood from water, UV rays, and other environmental factors. Refinishing your old Shaw and Tenney oars is a rewarding endeavor that honors their history and craftsmanship. Restore these timeless wooden oars to their former glory so they can accompany you on many future adventures. Grab your sandpaper, varnish, and brushes – it's time to make your oars shine again!

